Introduction: Why Build Your Own PC?
The idea of building your own PC can feel simultaneously exhilarating and intimidating. You’ve likely seen videos online of glowing, custom-lit machines, or perhaps you’ve read about high-end gaming rigs with multiple graphics cards that seem more like spacecraft than computers. But have you ever wondered why people do this? Well, the reason is beyond aesthetics and bragging rights. In this article we dive into the reasoning behind this decision, plus what to expect when you decide to take this route.
All Image Credits: www.unsplash.com
Why do people build their own PCs instead of buying pre-built machines? There are several reasons:
1. Cost Efficiency – Buying components individually often gives you more bang for your buck. Manufacturers of pre-built PCs include a markup for assembly, warranty, and brand premium. By picking each part yourself, you can allocate your budget to the areas that matter most, like a higher-end graphics card or faster storage.
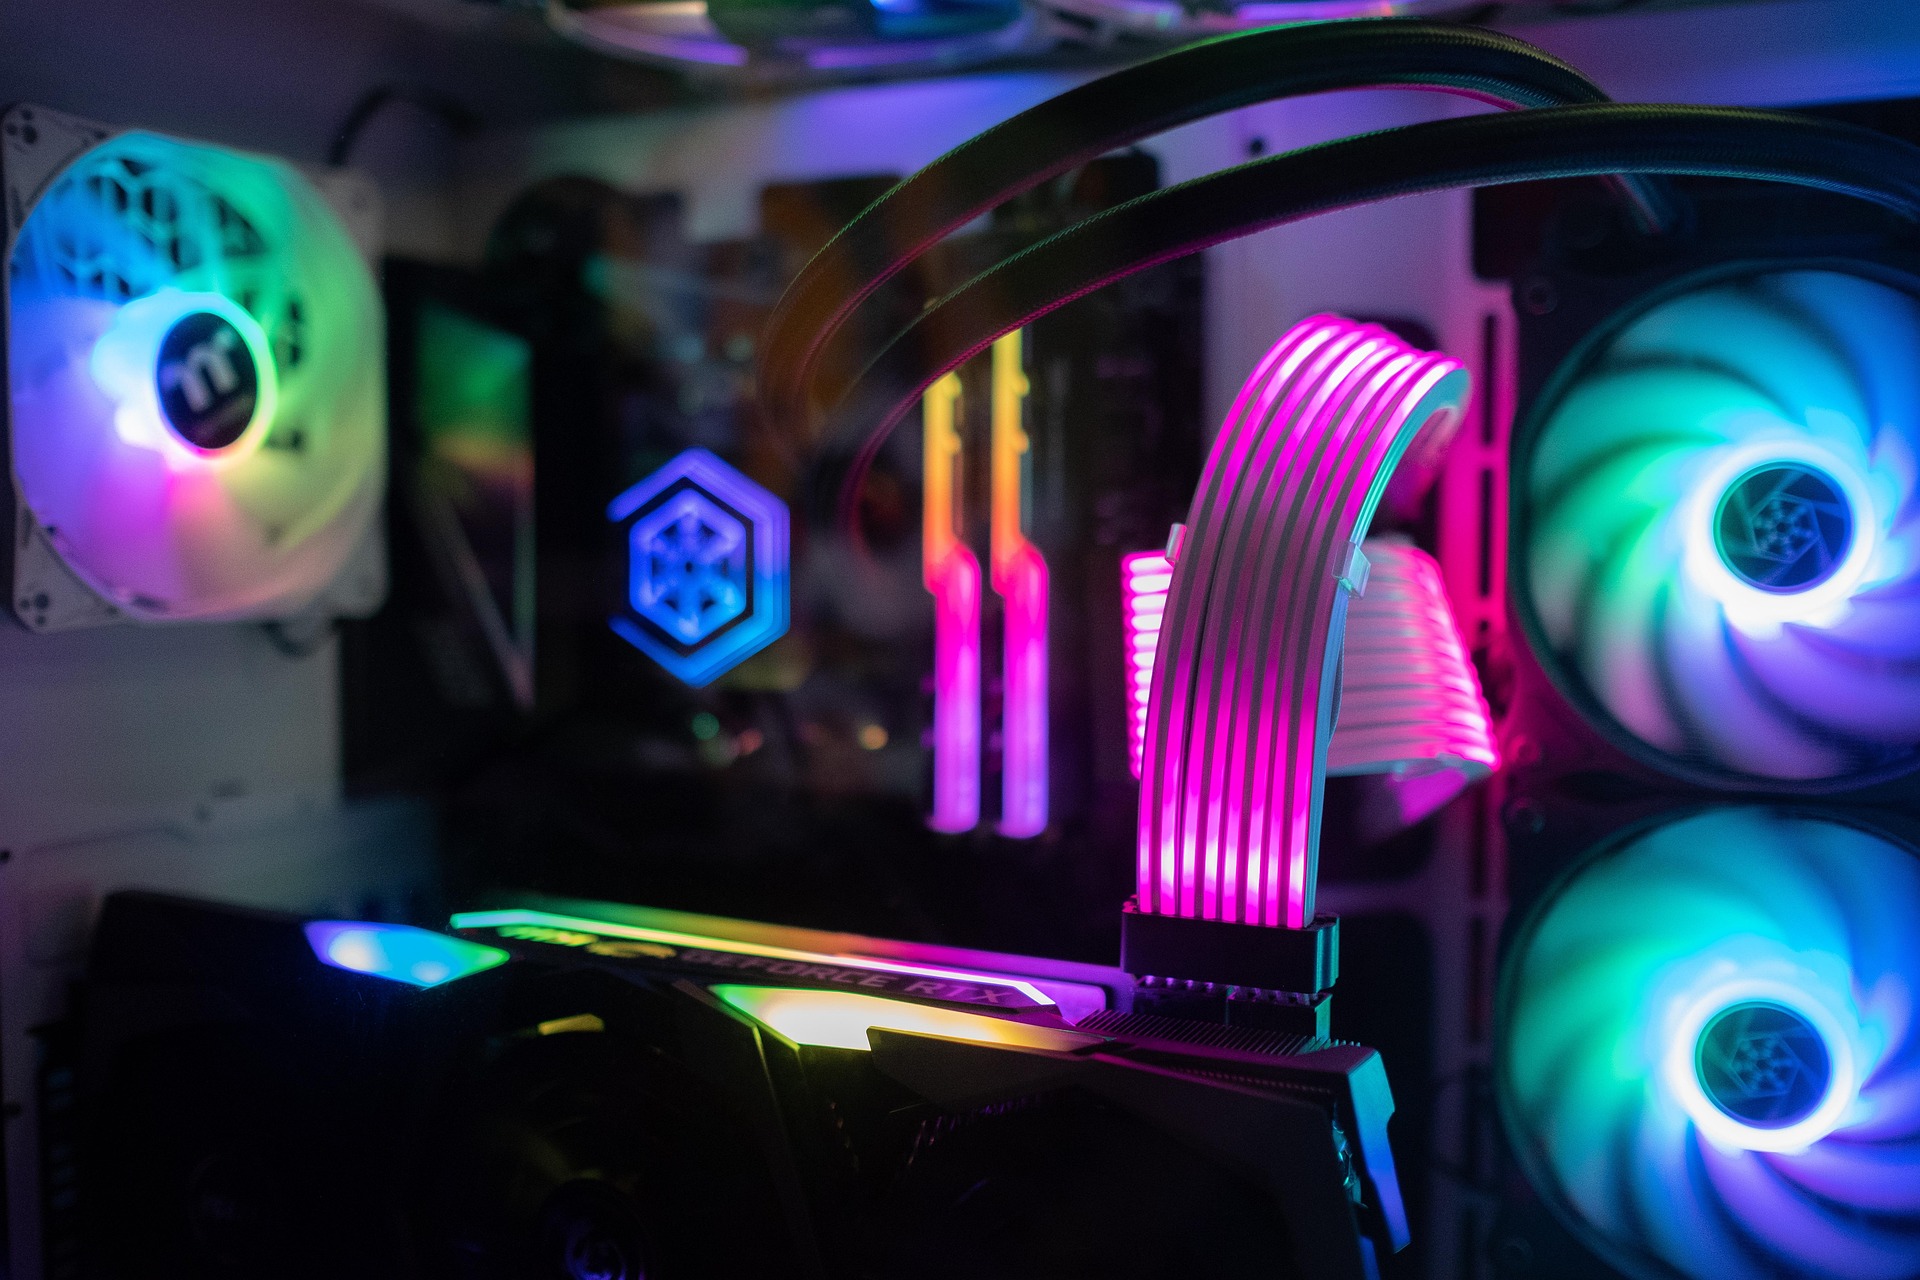
2. Customization – From the case design to RGB lighting, to airflow and cable management, building your own PC allows you to design a system tailored to your needs and aesthetic preferences. More importantly, it lets you pick components that match your workload. A video editor will prioritize different specs than a gamer or someone doing 3D modeling.

3. Upgradeability – When you build your own PC, you know exactly what’s inside it. Upgrading down the line becomes easier because you understand compatibility issues and have chosen components with future upgrades in mind. Pre-built systems sometimes use proprietary parts that are difficult or expensive to replace.
4. Learning Experience – There’s a certain satisfaction in learning how your machine works from the inside out. You’ll develop troubleshooting skills and a foundational understanding of hardware that can save you time and frustration in the future.
5. Performance Optimization – By choosing the best components for your specific use case, you can ensure that your PC performs optimally. Pre-built machines often balance specs across multiple categories to appeal to a broad audience, which can result in wasted resources or bottlenecks for your particular needs.
But what should you expect at different price points? It’s important to be realistic:
- Entry-Level Builds ($400–$700) – These are perfect for office work, web browsing, light gaming, and media consumption. You’ll likely pair a budget CPU with integrated graphics or an entry-level GPU. Expect solid performance at 1080p, but don’t plan on ultra settings in modern AAA games.
- Mid-Range Builds ($700–$1,200) – This is the sweet spot for most users. You can comfortably game at 1080p or 1440p, stream content, and handle more demanding workloads like video editing or light 3D rendering. Components in this range tend to balance price and performance, offering noticeable upgrades over entry-level builds.
- High-End Builds ($1,200+) – These machines are for enthusiasts, gamers who demand ultra settings at high resolutions, content creators, or professionals handling heavy rendering tasks. Expect premium CPUs, GPUs, NVMe storage, and high-end motherboards with robust features.
With expectations in mind, let’s dive into the nuts and bolts of building your PC, from shopping for components to understanding what each part does and why it matters.
Step 1: Shopping for Components
Every PC is essentially a puzzle where each piece must fit and function with the others. Understanding the role of each component is crucial. Here’s a breakdown of the major parts you’ll need to select.
1. CPU (Central Processing Unit)

The CPU is often called the brain of your PC. It handles all general-purpose processing tasks, from running your operating system to executing complex calculations for games or software.
- Variants and Performance:
CPUs come in multiple families, typically from Intel or AMD. Intel’s Core series (i3, i5, i7, i9) and AMD’s Ryzen series (3, 5, 7, 9) are the most common for consumer PCs. More cores and threads generally mean better multitasking and faster performance in CPU-heavy applications, but clock speed (GHz) and architecture matter as much as core count. - Price Considerations:
Entry-level CPUs (around $100–$150) can handle everyday tasks and light gaming. Mid-range CPUs ($200–$350) provide better multitasking and gaming performance. High-end CPUs ($400+) are geared toward enthusiasts and professionals who need peak performance for rendering, video production, or heavy gaming.
2. GPU (Graphics Processing Unit)

The GPU, or graphics card, is responsible for rendering images, animations, and video. For gamers, video editors, and 3D designers, the GPU is often more important than the CPU. Keep in mind, this component is usually one of (if not the most!) pricey part of the build.
- Variants and Performance:
Modern GPUs come from NVIDIA (RTX and GTX series) and AMD (Radeon RX series). Entry-level GPUs handle casual gaming and HD content, mid-range cards tackle 1080p–1440p gaming at higher settings, and high-end GPUs dominate 4K gaming and professional creative workloads. - Integrated vs. Dedicated:
Some CPUs come with integrated graphics, which can be fine for office work, streaming, and light gaming. Dedicated GPUs are needed for serious gaming, CAD work, or video editing. - Price Considerations:
GPU prices vary widely. Budget cards may cost $150–$250, mid-range cards $300–$600, and high-end GPUs can exceed $1,000. Consider your resolution and frame rate targets carefully to match the card to your needs.
3. Motherboard

The motherboard connects all your components and dictates what you can install. Think of it as the central hub of your PC.
- Variants:
Motherboards differ in form factor (ATX, Micro-ATX, Mini-ITX), chipset (which affects CPU compatibility and features), and features (number of RAM slots, PCIe slots, USB ports, Wi-Fi, etc.). - Price Considerations:
Budget boards ($80–$150) are sufficient for basic builds. Mid-range boards ($150–$250) offer better overclocking options, more connectivity, and future upgrade paths. High-end boards ($250+) are for enthusiasts who want robust power delivery, advanced cooling, and extra features like multiple GPU support.
4. RAM (Random Access Memory)

RAM is your PC’s short-term memory. It temporarily stores data your CPU needs to access quickly. *This is extremely important to gamers.*
- Variants:
Most modern systems use DDR4 or DDR5 RAM, with speeds ranging from 2400MHz to 6000MHz+. More RAM allows for better multitasking and smoother performance in memory-intensive applications. - Price Considerations:
8GB is the minimum for basic use. 16GB is ideal for gaming and general productivity. 32GB+ is recommended for video editing, 3D work, or heavy multitasking. Prices increase with capacity and speed.
5. Storage

Your storage device holds your operating system, applications, and files. You have two main options:
- HDD (Hard Disk Drive): Cheap and high-capacity, but slower. Suitable for large media libraries or backups.
- SSD (Solid State Drive): Faster boot times and load speeds. NVMe SSDs are the fastest but more expensive.
- Price Considerations:
Budget builds can get away with a single 256–512GB SSD. Mid-range users often combine a 500GB–1TB SSD for the OS and a larger HDD for storage. High-end builds often use multiple NVMe SSDs in RAID for blazing-fast performance.
6. Power Supply Unit (PSU)

The PSU provides power to your PC. It’s critical to get a reliable unit, as a bad PSU can damage your components.
- Variants:
PSUs are rated by wattage and efficiency (80 Plus Bronze, Silver, Gold, Platinum). Choose a wattage that comfortably exceeds your total system requirements, usually by 20–30% for safety. - Price Considerations:
Budget PSUs start around $40, mid-range $60–$120, and high-end $150+. Don’t skimp here; a quality PSU protects your investment.
7. Case

Finally, the most exciting part: the case! The case houses all your components and affects airflow, cooling, and aesthetics.
- Variants:
Cases come in different sizes (ATX, Micro-ATX, Mini-ITX) and styles. Some prioritize airflow, others aesthetics with tempered glass panels and RGB lighting. - Price Considerations:
Budget cases can be found for $50–$80, mid-range $80–$150, and premium cases $200+ with advanced features like noise reduction, modular designs, or built-in fan controllers.
Note: make sure that your components will fit into the case before purchasing.
8. Cooling

Depending on your CPU and case, cooling can be as simple as the stock cooler included with your CPU or as advanced as custom water cooling loops. Proper cooling maintains performance and extends the life of your components.
- Variants:
Air coolers are simpler and often quieter. Liquid coolers (AIOs) provide better thermal performance and can look spectacular in custom builds. - Price Considerations:
Air coolers: $20–$80. AIO liquid coolers: $70–$200+. High-end custom loops can cost $300+.
9. Optional Peripherals

Don’t forget your monitor, keyboard, mouse, and other accessories. The choice of peripherals depends on your use case and aesthetic preferences. Gaming monitors with high refresh rates, mechanical keyboards, and precision mice can enhance your overall experience.
Conclusion: The Joy of Building
Building your first PC can seem overwhelming, but it’s an incredibly rewarding process. You’ll gain a custom machine tailored to your exact needs, a deeper understanding of technology, and a sense of accomplishment that only comes from creating something yourself.
Remember: plan your budget, research your components, check compatibility, and take your time during assembly. Even if it feels intimidating at first, the sense of powering on a machine you built from scratch is unmatched.
By understanding what each part does, what to expect from each price point, and how to shop intelligently, you’re well on your way to joining the ranks of DIY PC builders—and maybe even turning it into a hobby!
Author
user@example.com
Related Posts

How to Use AI Tools to Save 2 Hours Every Day (Beginner’s Guide)
Last updated: March 2026 | 9 min read | Beginner friendly What would you do with two extra hours every day? That’s...
Read out allHow to Use ChatGPT to Write Emails (Step-by-Step for Beginners)
Last updated: March 2026 | 7 min read | Beginner friendly Writing emails takes up a surprising chunk of your day. Whether...
Read out all
ChatGPT vs Claude: Which AI Assistant is Better for Productivity? (2026)
Last updated: March 2026 | 8 min read | Beginner friendly You’ve probably heard of both ChatGPT and Claude. They’re two of...
Read out all
7 Best AI Productivity Tools in 2026 (Honest Reviews for Beginners)
Last updated: March 2026 | 10 min read | Beginner friendly If you’ve been hearing a lot about AI tools lately but...
Read out all
🎮 So… What’s Going On With Xbox?
If you’ve been paying attention to gaming news lately, you probably felt it: something big shifted at Xbox. It happened fast —...
Read out all
What Is Phishing? A Simple Guide to Staying Safe Online and Avoiding Scams In 2026
If you use email, text messages, or social media, you’ve probably been targeted by phishing — even if you didn’t realize it....
Read out all